Summertime is salad time. What’s easier than grabbing a salad mix bag at the grocerystore? Yet convenience can lead to boredom.
This time of year, fresh produce is abundant. Visit your local market or produce stand and pick up a variety of squashes, cucumber, cabbage (red and green), carrots, celery, and onion. These vegetables are low in calories, high in nutrients, and filling.
This HastyTasty meal is not hasty to prepare. Even with a food processor, you’ll spend close to an hour washing, cutting, slicing, grating, and then assembling a salad that serves 8. But it keeps several days in the refrigerator, available for serving at a moment’s notice. It is a delicious departure from lettuce salad, too.
Just add your choice of dressing.
I take no credit for this saladrecipe. I learned it from attending Kitchen Craft Cookware shows as “demonstration salad.” It’s used to demonstrate the Kitchen Cutter, which I bought 20+ years ago. I adapted the recipe for the food processor. However you prepare the salad, you will appreciate the taste. One serving is less than 20 calories, so you can indulge in a Tablespoon of your favorite salad dressing.
Here is a Link to a demonstration salad video on YouTube.
We love taco soup but try to limit red meat. We still love our beloved taco soup, though, so I changed very little to develop the chicken version.
This qualifies as a Hasty Tasty Meal because many ingredients are in your pantry. I developed this recipe for the electric pressure cooker, yet it can be adapted for stovetop or slow cooker cooking.
Recipe
ChickenTacoSoup
Makes 5–6 servings
INGREDIENTS
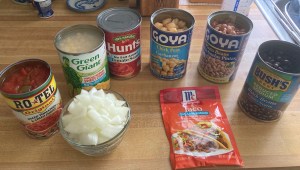
1.5 pounds Boneless skinless chicken thighs (fresh or frozen)
1 onion, chopped
1 can tomatoes and green chilies
1 can corn
3 cans beans, your choice of varieties *
1 15 oz. can tomato sauce
1 packet taco seasoning mix
1 quart chicken broth (cooking liquid from chicken)
One thing we learned from the Coronavirus pandemic was how to manage without unlimited access to groceries. Too many empty shelves at the supermarkets inspired us to go old-school in our home kitchens. One example was instant pudding.
In my adult life, I’ve depended on instant pudding for quick desserts. Add a package to 2 cups milk, turn on the blender, and voila! Perfect, smooth pudding in minutes. But what to do when the stock of packaged pudding is sold out at the stores?
I researched puddings and learned two methods to make homemade pudding: baked custard-type pudding and a stovetop cooked cornstarch-thickened pudding. Either is delicious yet I favor the stovetop method as it seemed simpler. Hasty Tasty Meals are all about easy yet wholesome.
My first experiment was a bit disappointing so I used a little help from Becky at The Hillbilly Kitchen. She has a very good YouTube Video about cornstarch pudding that inspired me to try again. So I made her banana pudding and it was delicious.
Buoyed by my success, I now make all my puddings. Why pay for mixes when adding just a few ingredients to the milk yields the same results…or better!
*I topped mine with cream I whipped myselfbut learned the next time to add dissolved unflavored gelatin to stabilize it. Real whipped cream breaks down in just a couple of hours.
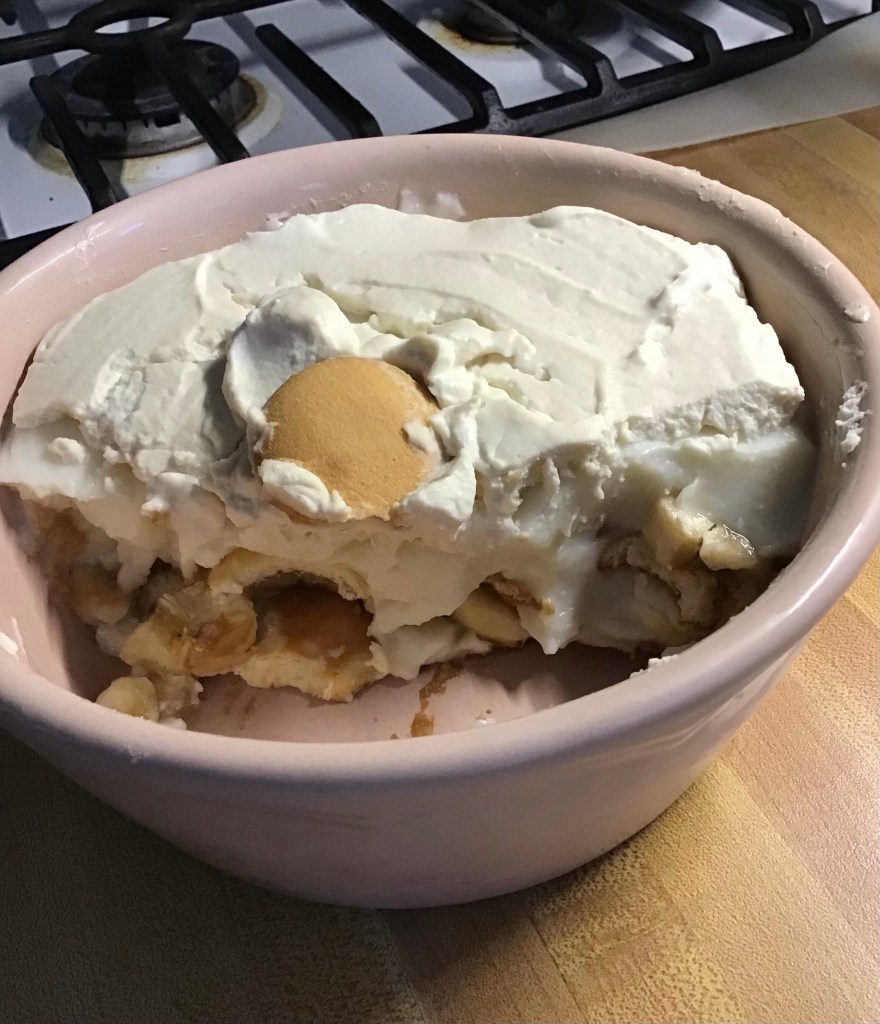
In a serving dish, layer bananas (1/4” slices) and vanilla wafers. In a separate dish, combine sugar, salt, and cornstarch. Whisk together thoroughly and set aside.
In a heavy 3 quart saucepan, heat milk until steaming but not yet boiling. Whisk in the dry ingredients, raise the temperature, and bring to a boil, whisking constantly. After one minute, mixture should thicken.
Immediately remove pan from heat and stir in butter and vanilla. Pour pudding over the layered bananas and vanilla wafers. Do not stir. Pudding will seep through the layers. Cornstarch-thickened pudding is prone to separating if overworked. Refrigerate the banana pudding at least an hour before serving. Serve topped with whipped cream (optional) or nondairy whipped topping. Garnish with a vanilla wafer or a banana slice, if desired.
Save money and use your own ingredients to make delicious pudding at home. Vary the flavoringsto create other flavors using the basic recipe of 2 cups milk, 1/2 cup sugar, 3 Tbsp. cornstarch, 1/2 tsp. salt, and a Tbsp.real butter. Add whatever extracts you fancy, or bloom cocoa powder in a bit of hot water for chocolate pudding. Experiment and enjoy.
I hate to waste food, don’t you? That’s why my freezer has little bags of cooked leftovers, just waiting to be used in a stew, casserole, or pot pie.
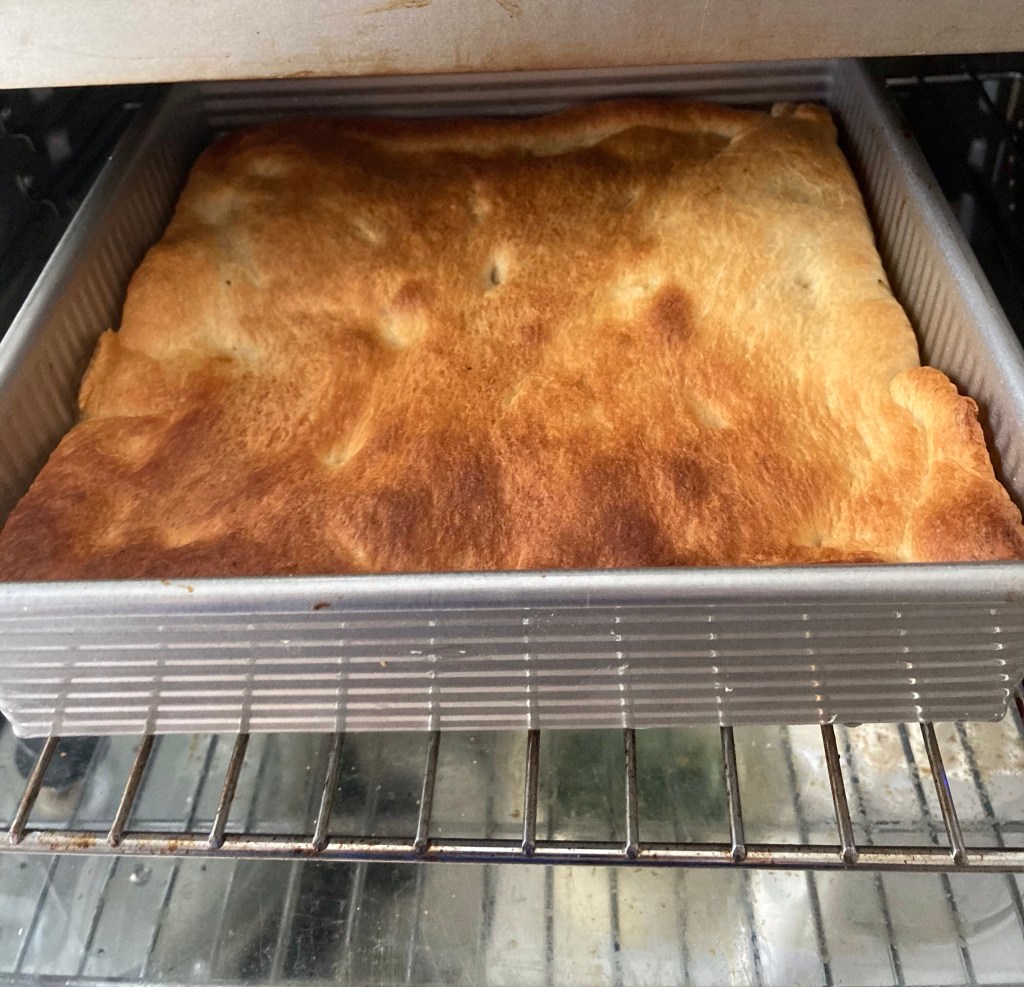
Today I wanted to make a pot pie from turkey breast leftovers but without heating the oven in my Florida kitchen. So I experimented with my NuWave Bravo air fryer oven. No recipe is required for a pot pie. Mix vegetables in a gravy, cook, and top with dough. Seriously. It’s that easy.
All I need to create a turkey pot pie.
There are a few supermarket helpers you can keep on hand to simplify pot pie, such as pie crust dough, condensed cream of mushroom or chicken soups, and frozen mixed vegetables. You can vary the ingredients and approach, yet it’s basically meat, vegetables, gravy/sauce, and a crust.*
Steam vegetables and add gravy to create filling.
As for today’s experiment, I preheated the air fryer oven for about three minutes at 375°F. After I assembled my turkey pot pie, I placed it in the air fryer oven for 8 minutes (ovens vary—when you smell the aroma, it’s done).
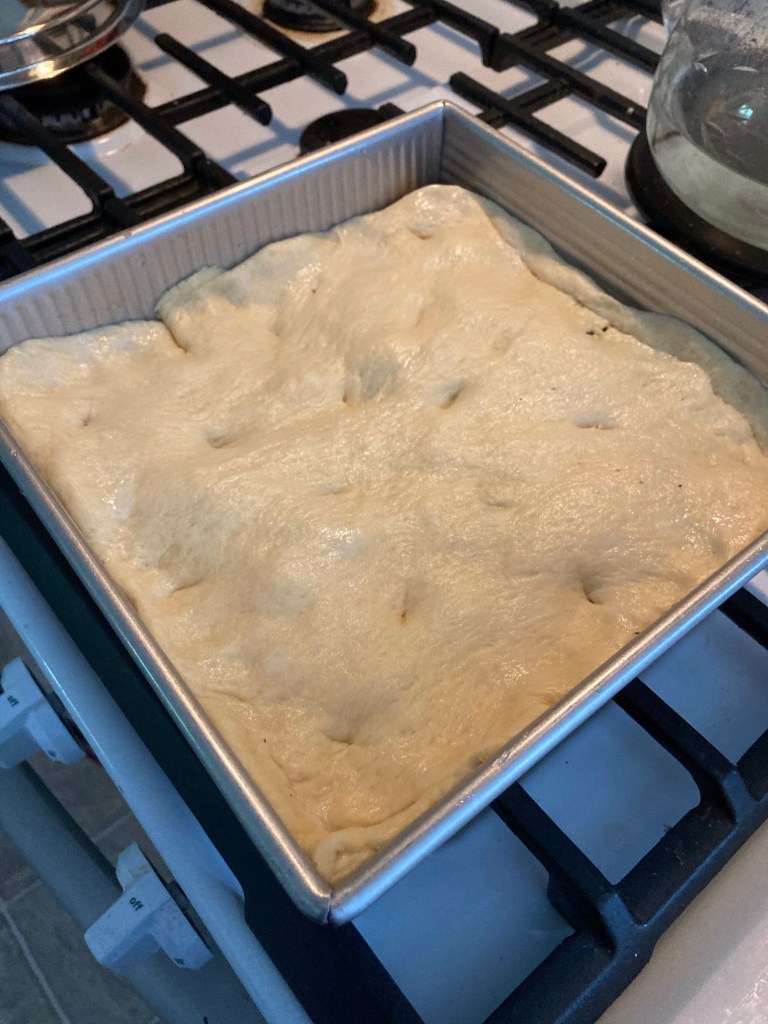
Place dough atop filling.
*Don’t have a crust or time to make one? Top the filling with mashed potatoes for a cottage or shepherds pie.
Next time you need to do a refrigerator crisper drawer (or freezer leftovers) clean-out, think pot pie.