Category Archives: Vegetables

Pot Pie in an Air Fryer Oven

I hate to waste food, don’t you? That’s why my freezer has little bags of cooked leftovers, just waiting to be used in a stew, casserole, or pot pie.

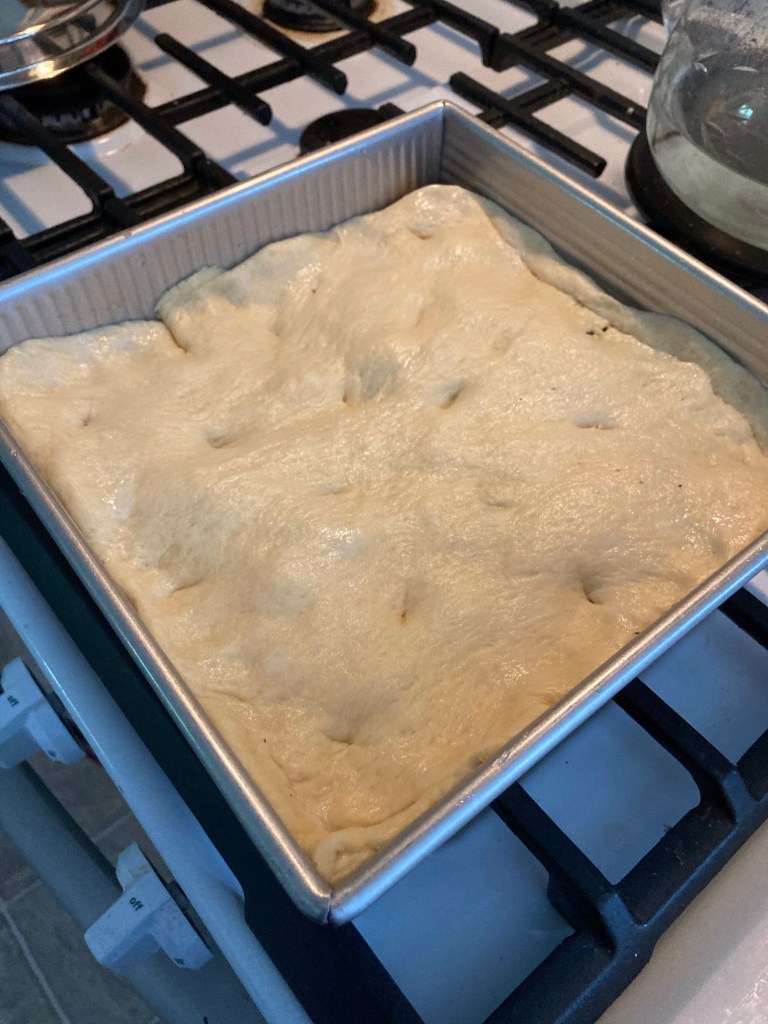
Today I wanted to make a pot pie from turkey breast leftovers but without heating the oven in my Florida kitchen. So I experimented with my NuWave Bravo air fryer oven. No recipe is required for a pot pie. Mix vegetables in a gravy, cook, and top with dough. Seriously. It’s that easy.

All I need to create a turkey pot pie.

There are a few supermarket helpers you can keep on hand to simplify pot pie, such as pie crust dough, condensed cream of mushroom or chicken soups, and frozen mixed vegetables. You can vary the ingredients and approach, yet it’s basically meat, vegetables, gravy/sauce, and a crust.*

Steam vegetables and add gravy to create filling.

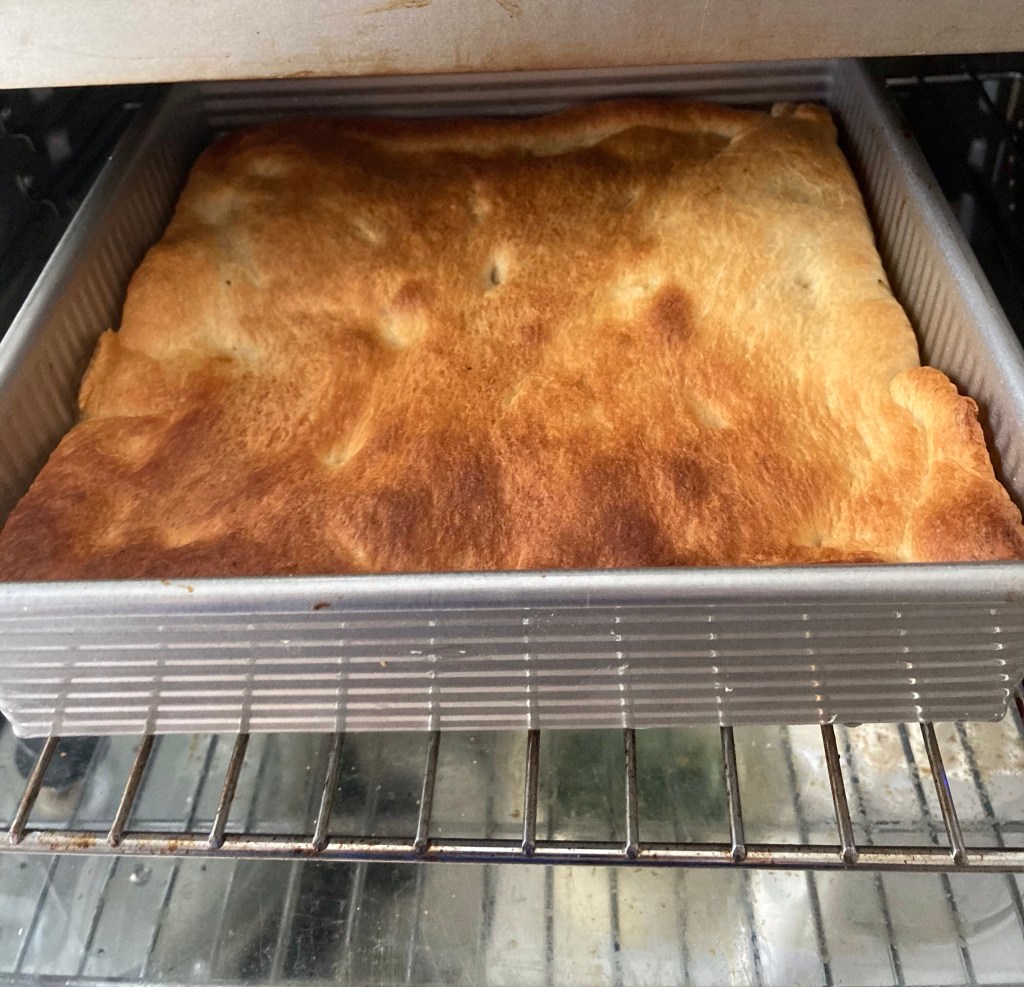
As for today’s experiment, I preheated the air fryer oven for about three minutes at 375°F. After I assembled my turkey pot pie, I placed it in the air fryer oven for 8 minutes (ovens vary—when you smell the aroma, it’s done).

Place dough atop filling.

*Don’t have a crust or time to make one? Top the filling with mashed potatoes for a cottage or shepherds pie.

Next time you need to do a refrigerator crisper drawer (or freezer leftovers) clean-out, think pot pie.

Air fryer oven pot pie

Leave a comment

Filed under kitchen equipment, Turkey Recipes, Vegetables

Cauliflower Pizza Crust

For years, a recipe for making a healthier pizza crust from cauliflower has made the rounds. Although interested, I couldn’t find the enthusiasm to try making it. Like Tres Leche Cake, it was too labor-intensive to fit my criteria for a Hasty Tasty Meal. Thanks to Green Giant, that’s no longer the case.

Cauliflower pizza crust is pricey ($4.99 at my local grocery store), but is worth the investment if you’re craving pizza and can’t sacrifice nutrition. Yes, nutritional pizza is no longer an oxymoron.

I baked mine in my Power Air Fryer Oven 400°F but it works better in a conventional oven at 450°

This slideshow requires JavaScript.

Here’s how I made a sausage and mushroom pizza:

RECIPE

Reasonably Healthy Cauliflower Crust Sausage and Mushroom Pizza

Makes 2 2-slice servings.

Ingredients

  • 1 frozen cauliflower pizza crust
  • 1 8 oz. can low sodium tomato sauce
  • 1 clove garlic
  • 1 patty fully cooked turkey sausage
  • 1 tsp. Italian seasonings
  • 1 can mushrooms, rinsed and drained
  • 1/4 cup onion, chopped
  • 1/4 cup bell pepper, chopped
  • 1 cup grated mozzarella and Parmesan cheeses (2/3 cup mozzarella and 1/3 cup Parmesan)
  • cooking spray
  • optional salt to taste

Instructions

  1. Preheat oven to 450°.
  2. Remove cauliflower crust from its packaging. Prebake crust directly on the rack for 12-15 minutes.
  3. While crust bakes, combine sauce, seasonings (including garlic), and turkey sausage patty in a blender or food processor. Don’t overprocess. Stir in mushrooms. Also, grate cheeses if needed.
  4. Carefully remove crust from the oven using a pizza peel or large spatula. 
  5. Spread the sauce over the crust and sprinkle the chopped onion and pepper.
  6. Cover with shredded cheese and return pizza to the oven, again placing it directly on the oven rack.
  7. Bake just until browned and bubbly (approximately 6 minutes). Carefully remove the pizza and allow it to cool for 3-5 minutes.
  8. Slice into 4 pieces and serve.

Each slice is only 140 calories (280 calories per 2-slice servings), or 8 WW points per serving.*

*Unofficial points calculated using the WW app recipe builder.

Leave a comment

Filed under cooking, Healthful Eating, pizza crust, Vegetables

Raising a stink about cabbage…

Remember walking into Grandma’s house when she had cabbage cooking in her kitchen? The entire house smelled like rotten eggs, right? Grandma insisted that cabbage was good for you, though, and you should eat it. She was right! According to many sources (such as Good Health All), cabbage is effective in fighting digestive, cardiovascular, and blood sugar issues as well as serving as an anti-inflammatory and vitamin source. It’s a nutritional gold mine.

So why did it stink up Grandma’s house? She cooked it too long! Overcooked cabbage produces hydrogen sulfide gas, the source of that rotten egg odor. To avoid raising a stink in your house, don’t cook it like Grandma. Cook it fast. What better way to cook a vegetable quickly than in a pressure cooker?

Here’s how.

  1.  Quarter or shred your head of cabbage (or separate the leaves for cabbage rolls). Wash and drain.
  2. Add 1½ cups filtered water to the bottom of your pressure cooker pot. If using an electric pressure cooker, set for 5 minutes.
  3. Place cabbage in a strainer or steaming basket placed over the cooking water on a trivet or rack.
  4. Seal cooker. If using a stovetop pressure cooker, bring to pressure and then time for 3 minutes.
  5. After the 3 (5 on electric) minutes under pressure, remove from heat (select “cancel” on the electric model). Carefully release pressure.
  6. Open the cooker and season the cabbage with salt, pepper, and a pinch of sugar*.
  7. Carefully remove the cabbage and serve.

(*Just a pinch. It’s optional, but Grandma was right about the sugar. Trust me.)

That’s it. If you quickly cook cabbage just until done, you won’t stink up your kitchen. Promise.

100_1471-300x225

NOTE: Pressure cookers vary, so your cooking times may, too. The 5 minutes works on my particular electric model, and the 3 minutes is perfect in my stovetop pressure cooker. You may need to adjust your cooking time.

1 Comment

Filed under cooking, Healthful Eating, Vegetables

Best Broccoli

While I embrace using pressure cookers, there are some dishes less suitable for cooking under pressure. I prefer my microwave oven or stove-top steaming for quick-cooking vegetables like asparagus and broccoli.

The best broccoli is green, tender, but still crisp. If you want brownish, limp flowerets, cook as long as you want. But we prefer broccoli cooked about three minutes (depending on the wattage of the microwave oven) in an oven-safe bowl covered with a wet paper towel. The only water needed is what clings to the flowerets or spears when you rinse them before cooking. That’s it. Hasty and tasty!

catfish4

1 Comment

Filed under broccoli, Healthful Eating, kitchen equipment, Vegetables