Tag Archives: Recipes

Beef and Mushroom Stew

We love all meat yet try to limit our consumption of red meats. So I developed a recipe for beef stew that uses only half a pound of meat. By adding a pound of mushrooms, I boost the umami taste. I sneak in more vegetables, too.

This is a pressure cooker recipe that’s easily adapted to slow cooking. By using the pressure cooker, we get that cooked all day flavor in about half an hour.

Recipe

Beef and Mushroom Stew

Makes 4 one-cup servings

  • 1/2 pound beef (chuck or round works) cut into 1” chunks
  • 1 pound mushrooms, sliced and cleaned
  • 1 cup broth + 1 Tbsp (reserved for slurry)
  • 2 tsp. Oil
  • 1 onion, chopped
  • 2 carrots, sliced
  • 2 small red or gold potatoes, sliced or cubed
  • 2 ribs celery, chopped
  • 1 clove garlic, minced or sliced
  • 1 Tbsp Worcestershire Sauce
  • 1 Tbsp cornstarch
  • Kosher salt
  • Freshly ground pepper

Directions:

  • Preheat cooker pot.
  • Add oil.
  • Generously salt and pepper the beef.
  • Brown the beef on all sides, then remove from pot and set aside.
  • Sauté onions, garlic, and mushrooms 1 minute.
  • Add cup of broth, deglaze bottom of pot, and return the beef to the cooker.
  • Seal and cook under high pressure for 10 minutes.
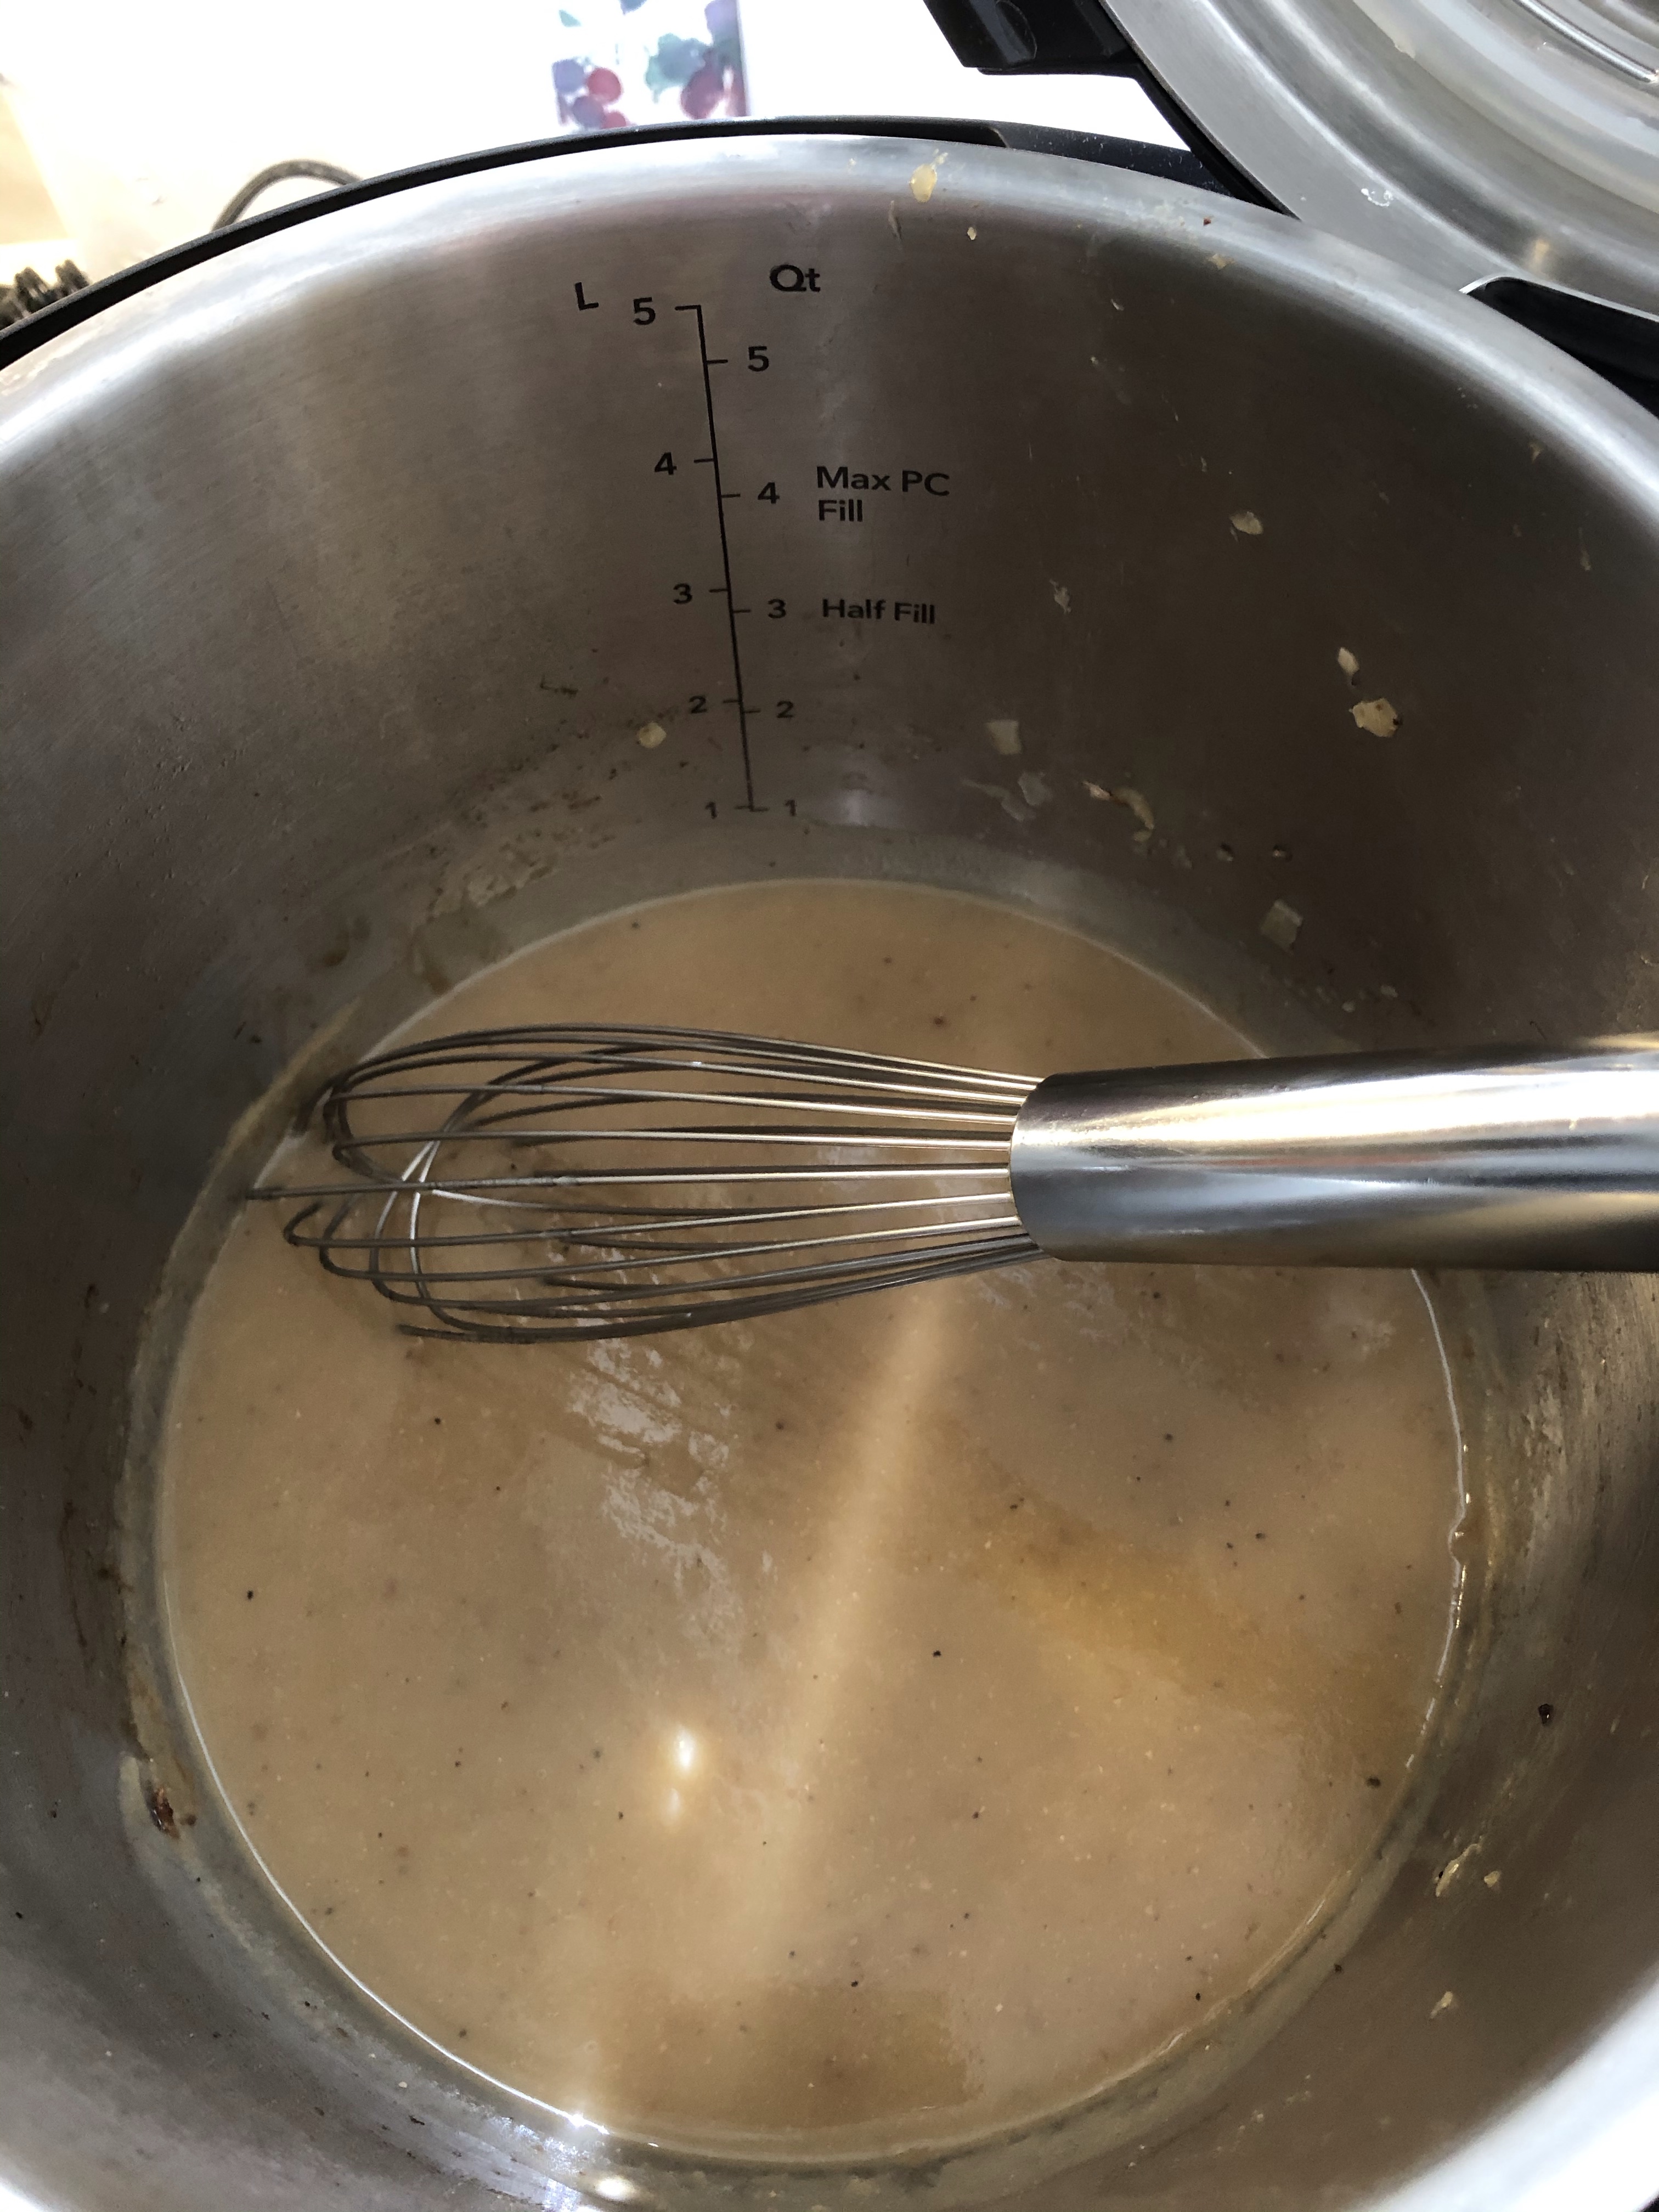
  • Meanwhile, prepare slurry by combining Worcestershire sauce, reserved broth, and cornstarch.
  • Remove pot from heat (or hit Cancel if using electric) and allow pressure to drop on its own.
  • Carefully open pot and add potatoes and carrots. Reseal.
  • Bring to pressure and cook 1 minute under pressure.
  • Remove from heat, allow pressure to drop 5 minutes on its own, then release remaining pressure.
  • Carefully open the cooker and check vegetables for doneness.
  • Stir slurry again right before adding it to the pot. Return to heat (or use sauté mode on electric models) just until sauce thickens.
  • Remove from heat immediately and check for seasonings. Add salt and pepper if needed and serve.
Beef and Mushroom Stew

Adding fresh chopped parsley before serving adds flavor. Unfortunately, I was out of parsley when I cooked this stew today. Next time …

Leave a comment

Filed under Healthful Eating

Pork Tenderloin—Hasty and Tasty

My grocer had pork tenderloins on sale this week buy-one-get-one-free (BOGO). Pork tenderloin, not to be confused with pork loin, is a lean and tender cut ideal for a Hasty Tasty Meal. It’s easily over cooked, which is why it’s crucial to distinguish tenderloin from loin. Yet it’s also difficult to pass up a BOGO, so I decided it was time to master pork tenderloin.

Baking or roasting pork tenderloin using a meat thermometer (internal temperature of 145°) is a foolproof cooking technique, yet I wanted to use my pressure cooker. Why? We’re campers and don’t travel with an oven or even a microwave oven. But I do have a 3 quart Instant Pot Duo Mini in my travel trailer. Even when “roughing it,” I like to prepare good meals.

I experimented with steaming the tenderloin on a trivet over the liquid as well as braising in the cooking liquid. I tried chicken broth, water, and apple juice for the cooking liquid. All techniques produced edible meat, but here’s my favorite and most successful recipe.

RECIPE

Hasty Tasty Pork Tenderloin Roast

Serves Four

Ingredients:

  • 1 pork tenderloin, approximately 1.5 pound
  • 2 tsp. Canola oil or your choice vegetable oil
  • 2 cloves garlic, minced
  • 1/2 fennel bulb, sliced
  • 1 apple (gala or Granny Smith works well), sliced
  • 1/2 onion, sliced
  • 1.5 cups water
  • 1 Tbsp. unsalted butter
  • Kosher salt
  • Freshly ground black pepper

Directions:

  1. Preheat multi cooker on sauté mode.
  2. When heated, add oil and brown all sides of the tenderloin.
  3. Remove tenderloin to a plate. Add fennel, apple, and onion to the pot and sauté approximately 5 minutes. Salt and pepper. Turn off heat.
  4. While vegetables sauté, use a sharp paring knife and make slits evenly throughout the meat to insert the garlic pieces.
  5. Pour water slowly into the pot. Using a wooden spoon, deglaze the pot of any cooked-on bits.
  6. Return tenderloin to the cooker and place atop the fennel, apple, and onion slices.
  7. Seal cooker and set pressure cooking time for zero minutes (or lowest time setting available).
  8. After cooking time completes, hit cancel. Do not allow cooker to “keep warm.” Allow pressure to drop on its own one minute and then vent.
  9. Open cooker, remove meat to a plate, and pour cooking liquid into a heavy duty blender (I use a Vitamix) to purée.* Return liquid to pot, and hit sauté.
  10. While liquid reduces, allow tenderloin to rest. Tent with foil to keep warm. After the cooking liquid boils down to desired thickness, turn off cooker and add butter. Salt and pepper sauce to taste. Slice the tenderloin and serve drizzled with the sauce.

Browned tenderloins cook quickly.

Whisk in butter right before serving.

Serve with sauce and side dishes of your choice.

*For a chunkier sauce, mash the cooked apple, fennel, and onion mixture with a potato masher.

Leave a comment

Filed under Healthful Eating, pressure cooking, Instant Pot

Zesty Pinto Beans

We often eat beans. We like them, they’re good for us, and they are inexpensive. Today’s pintos (made in my Instant Pot) are made zesty with the addition of hot Hatch Chilies.

We discovered Hatch Chilies in Texas one summer. Although next to impossible to find fresh in my area, Hatch Chilies in cans are usually found in my pantry.

Here’s my recipe:

Zesty Pintos

RECIPE

Zesty Pinto Beans

Serves 4

Ingredients:

  1. 1 cup Dried Pinto Beans
  2. 1 cup Chopped Onion
  3. 1/2 cup Diced Sweet Pepper
  4. 1/2 cup Hatch Chilies (we like hot, but choose your heat level)
  5. 1 clove garlic, minced
  6. Water or Broth
  7. Salt and Pepper to Taste

Directions:

  1. Soak beans overnight or do a 1-hour Quick Soak in a Pressure Cooker.*
  2. Rinse beans and set aside. Wipe the pressure cooker dry and preheat (Sauté Mode).
  3. When pot is hot, add 1 Tbsp. oil. Allow oil to heat.
  4. Sauté chopped onions for 2 minutes before adding peppers.
  5. Sauté peppers 2-3 minutes. Remove from heat (or hit Cancel).
  6. Stir in garlic.
  7. Add presoaked beans. Add liquid just to cover beans. Set cooker for 30 minutes.
  8. Seal and bring to pressure. After cooking, allow pressure to drop on its own.
  9. Open cooker, stir, and serve.

*For the 1-hour Quick Presoak, place beans in a pressure cooker. Add water to completely cover the beans. Add 1 Tbsp salt. Pressure cook for one minute, cancel, and then allow beans to soak undisturbed for one hour. Rinse and drain before cooking.

.

Leave a comment

Filed under Healthful Eating

Chicken Taco Bowl

We love Mexican flavors and Southwest cuisine, and I love pressure cooking, so here is my version of a spicy taco bowl. It’s faster than messing with taco shells and making filling, so it’s a hasty and tasty meal for taco night. Enjoy.

RECIPE

Chicken Taco Bowl
Makes 5 – 6 servings

Ingredients:

  • 1 pound boneless, skinless chicken thighs (frozen or thawed)
  • 1 cup dried black beans (not soaked)
  • 1 cup brown long grain rice
  • 12 ounces salsa or 1 regular size can Rotel® diced tomatoes with green chilies
  • 2½ cups chicken broth or water
  • 1 ounce chili or taco seasoning mix
  • 8 ounce block Monterrey Jack cheese, shredded
  • (optional) fresh cilantro sprigs

Directions:

  1. In the pot of a pressure cooker, place chicken, beans, and rice. Pour salsa and broth over them. Add 1 ounce chili seasoning mix.
  2. Seal and bring to pressure. Cook 18 minutes (stovetop) or 23 minutes (electric).
  3. Remove from heat (or hit “cancel”) and allow pressure to drop on its own. Natural depressurization takes approximately 15 minutes.
  4. Carefully open cooker and stir. Chicken should easily shred, or you may remove it, shred it separately, and stir it into the rice and beans mixture. Top with cheese and cover. Do not return to heat.
  5. After a minute or two, the residual heat will melt the cheese and the taco bowl is ready to serve with optional garnish.

Variation: add 1 cup frozen corn kernels before adding the cheese.

2 Comments

Filed under Cilantro, cooking, Healthful Eating, Mexican, poultry