We love Mexican food and Tex-Mex, much of which involves tortillas. I always bought ready-made tortillas until I watched an episode of Pati’s Mexican Table on PBS in which Pati Jinich assured the audience how easy it is to make your own. Following a Twitter exchange with Pati (She’s very approachable and helpful), I ordered an inexpensive press and bought ingredients for corn tortillas.
There are a couple of tricks you need to know, but Pati’s right. It is easy to make your own tortillas. I may never buy ready-made again. I also may buy a larger tortilla press. 😉 But in the interest of full disclosure, you need to know there’s a learning curve. With practice, though, you’ll be turning out tortillas like some people turn out homemade bread or pasta. I’ll share with you the lessons I learned that helped me improve.
Instead of a recipe, it’s more of a method to making tortillas. Here’s how to make enough for dinner tonight. Mix 2 cups Maseca with 1½ cups water, stirring until blended. Scoop approximately 1 ounce dough for each tortilla.
Lesson One: Keep a full can of nonstick cooking spray handy.

All you need to make corn tortillas? Water, maseca, and cooking spray

Parchment paper and cooking spray prevent sticking

Gently press dough. If dough is too stiff, add a tiny bit more water.

Allow dough to cook approximately 30 seconds before peeling the parchment paper.

Cook turning every 30 seconds, 3 X per side.
Lesson Seven: Remember Lesson One? Use the cooking spray generously. It helps hold the parchment paper in place, and it helps crisp the tortillas without added grease.
As you cook the tortillas, wrap them in a napkin to keep them warm. Or allow to cool completely and store in a plastic food storage bag in the refrigerator for up to 7 days.
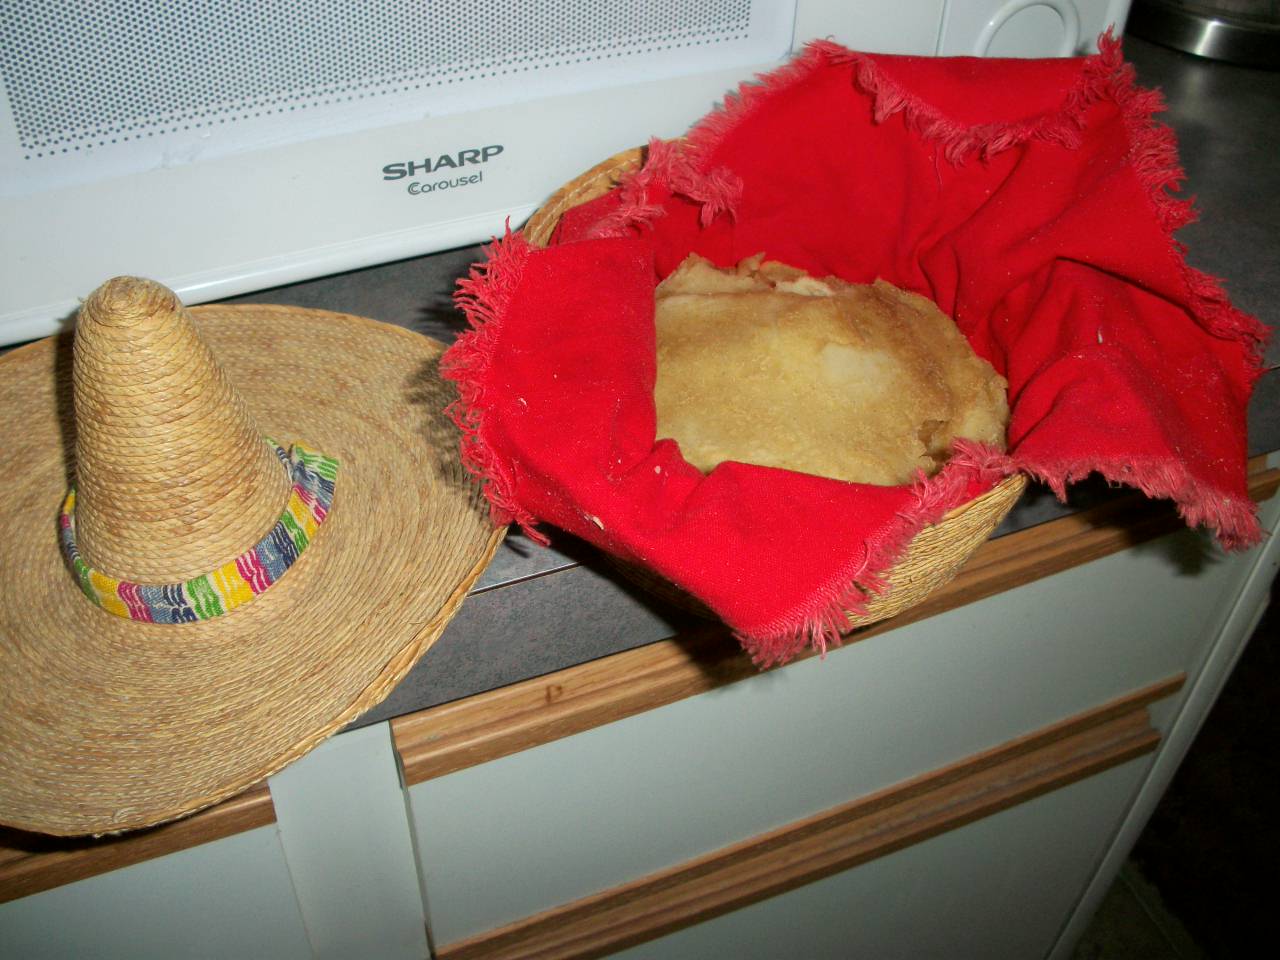
Keep corn tortillas wrapped in a napkin in a basket
Next I plan to master flour tortillas. Stay tuned.