Monthly Archives: July 2014

PASTEL TRES LECHES: Three Milks, Three Steps, Two Days, One Fabulous Cake

100_1076
One of my favorite desserts is Pastel Tres Leches (AKA Cake with three milks). It’s rich, so I have it about once a year. I’ve experimented with many recipes for Pastel Tres Leches. I narrowed down my search to two, one by Pati Jinich (Pati’s Mexican Table) and one by the editors of Cook’s Country and developed a hybrid of the two. I then tweaked it until it was—at least to me—to die for yummy. But I must give credit to both sources for the inspiration to master this dessert.

The cake is a two-day, three-step process, so one might argue it isn’t a hasty tasty meals recipe. I won’t debate that. But some things are worth the extra trouble. Pastel Tres Leches is a rare treat for me, and is worthy of the time and effort. If you don’t agree, then shop the bakery at Publix. They sell a good version of the cake.

First, understand that the cake is a cousin of bread pudding in that it’s a custardy dessert. If you accept that the dish is cake only in its infancy, and that you must feed it milk to grow it into a mature dessert, you’ll have no trouble following the three steps.

You may use a stand mixer, hand mixer, food processor, or the Vitamix. My version employs the Vitamix. You bake the cake, store, and serve all in the same pan.


RECIPE

Pastel Tres Leches

Serves 12

©2014 Cheryl Norman


Day One: The cake

  • Preheat oven to 325°. Spray nonstick cooking spray inside a 9” X 13” baking pan.
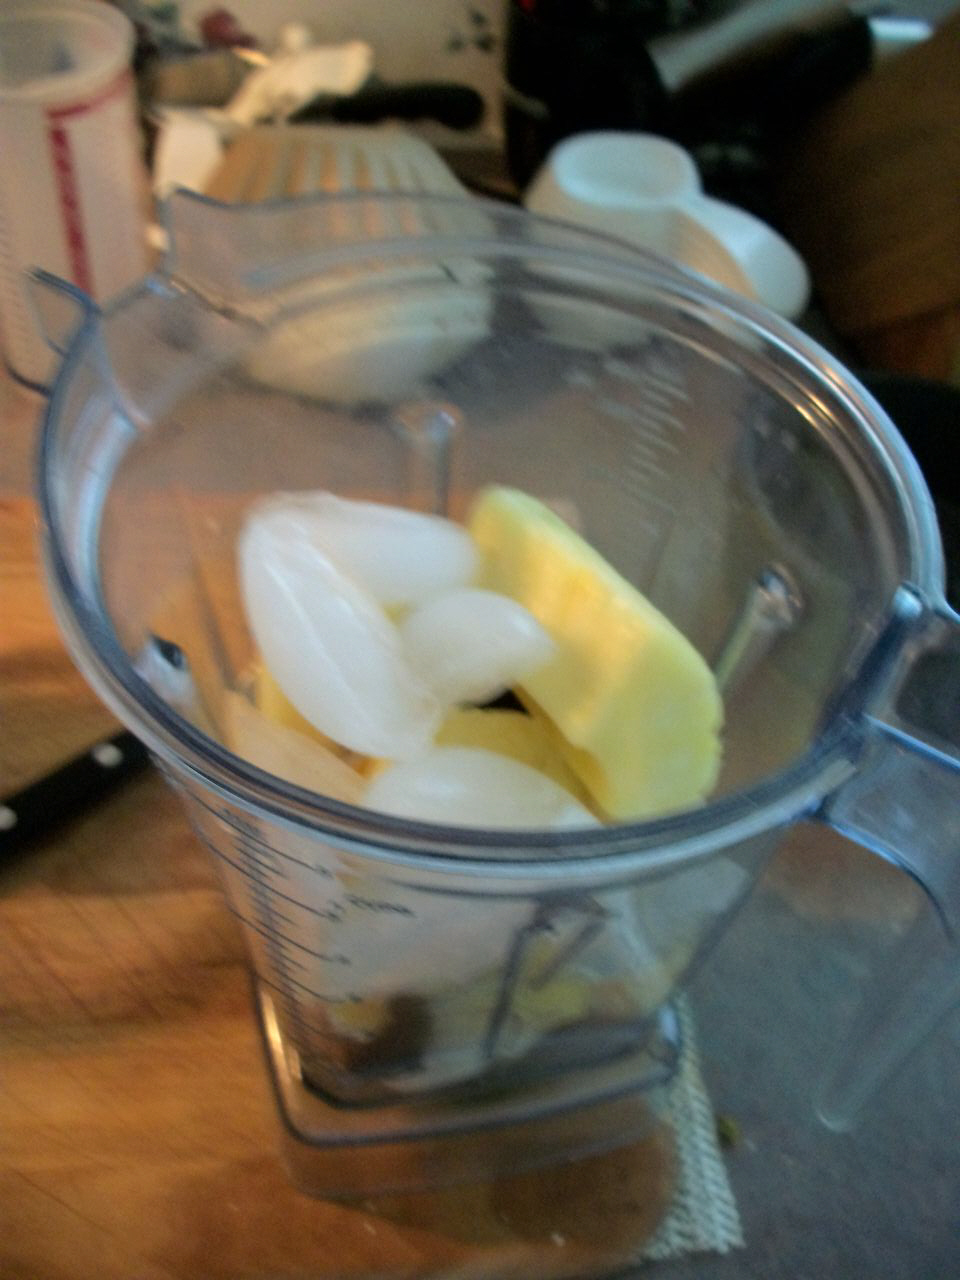
  • In the 64 oz. wet container of the Vitamix, whip 6 large eggs for approximately 30 seconds on Variable speed 1 gradually increasing to 10 then High. To the whipped eggs add ½ cup milk, 1 stick unsalted butter (melted and cooled to “warm”), and 1 ¾ cups sugar. Blend on Variable speeds 1—10 then High until blended. (Some recipes call for 2 cups sugar, but that was a bit sweet for my taste)
  • Combine 1 Tbsp. pure vanilla extract, 2 cups all-purpose flour, 1 tsp. Kosher salt, 2 tsp. baking powder, and a pinch of cinnamon. Add the dry ingredients in one-cup increments to the egg sugar mixture. Process on Variable speed 3-4 just enough to mix. Do not over blend.
    100_1070
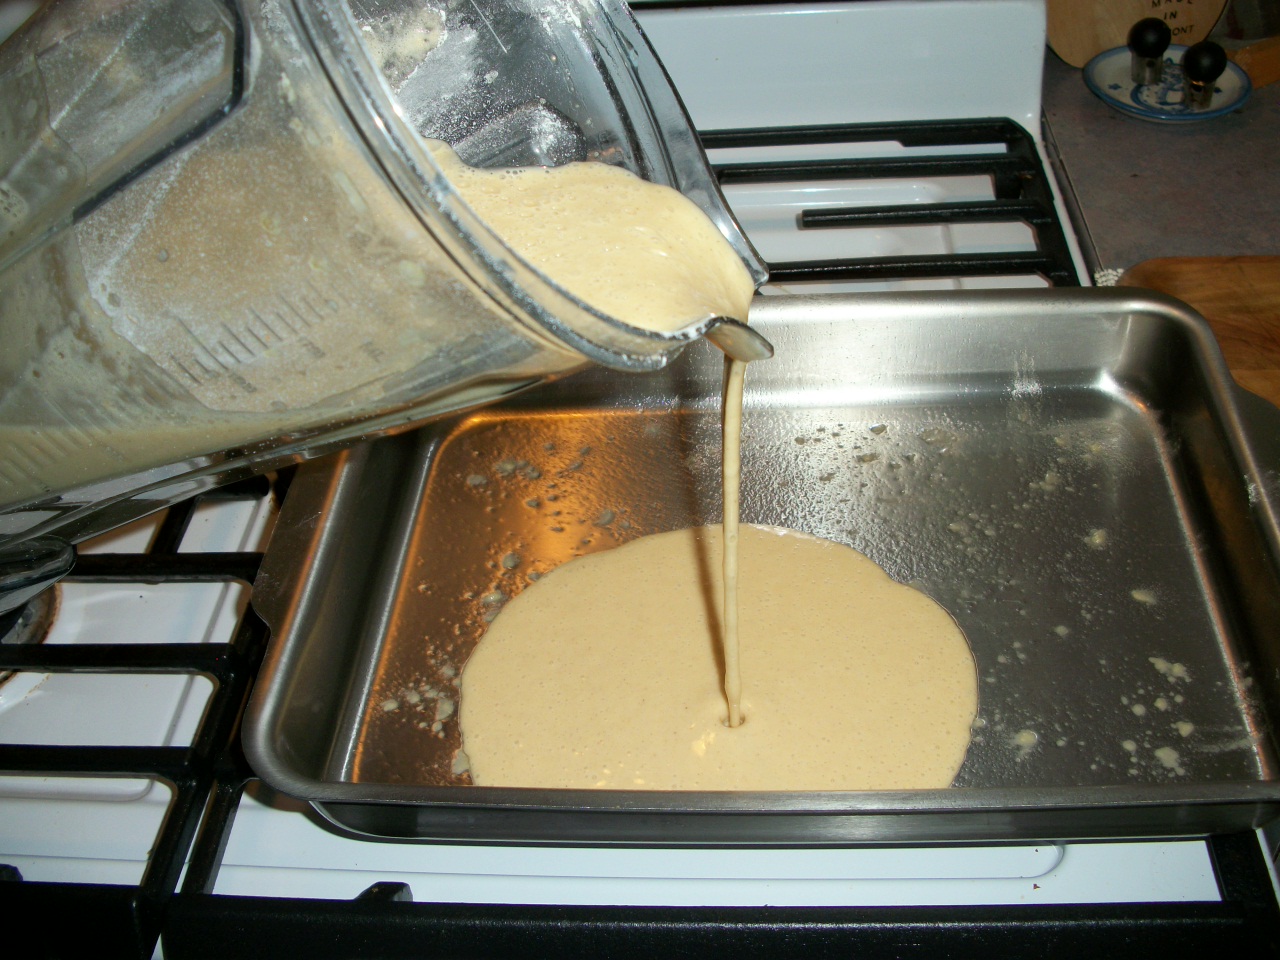
  • Pour batter into the prepared baking pan, place on the center shelf of the preheated oven, and bake 35 minutes. Batter will be wet and the cake will not raise much during baking.
  • When cake is done (inserted toothpick tests clean), cool in the pan on a rack for 30 minutes while you prepare the three milks.

Day One: The Tres Leches

100_1067

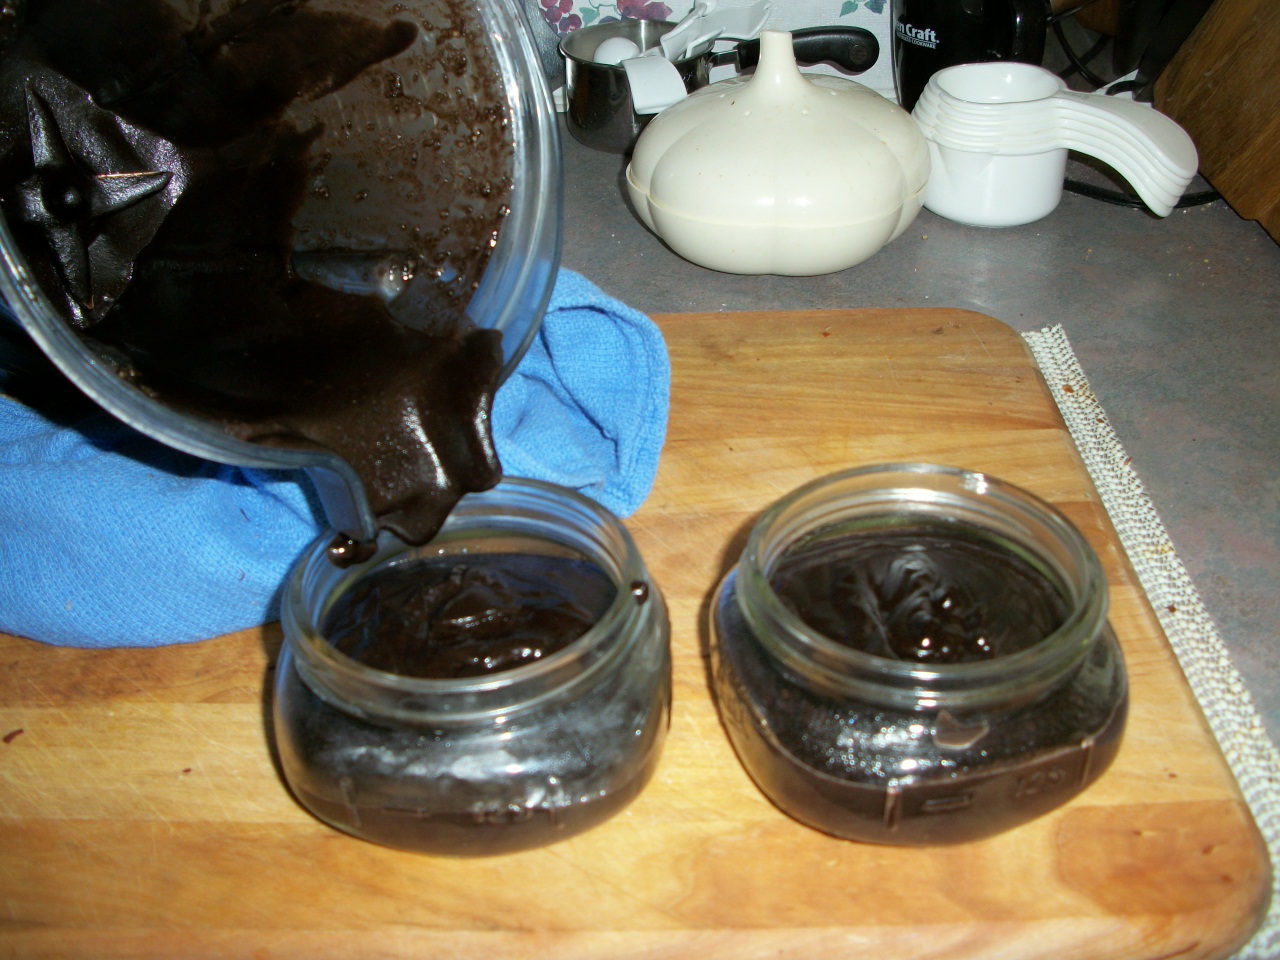
      • In a microwave safe bowl or in a double boiler, heat the contents of one can of condensed sweetened milk on Low until it becomes a light caramel color. Cool to room temperature. (This step can be omitted, but caramelizing the milk intensifies its flavor)

100_1072

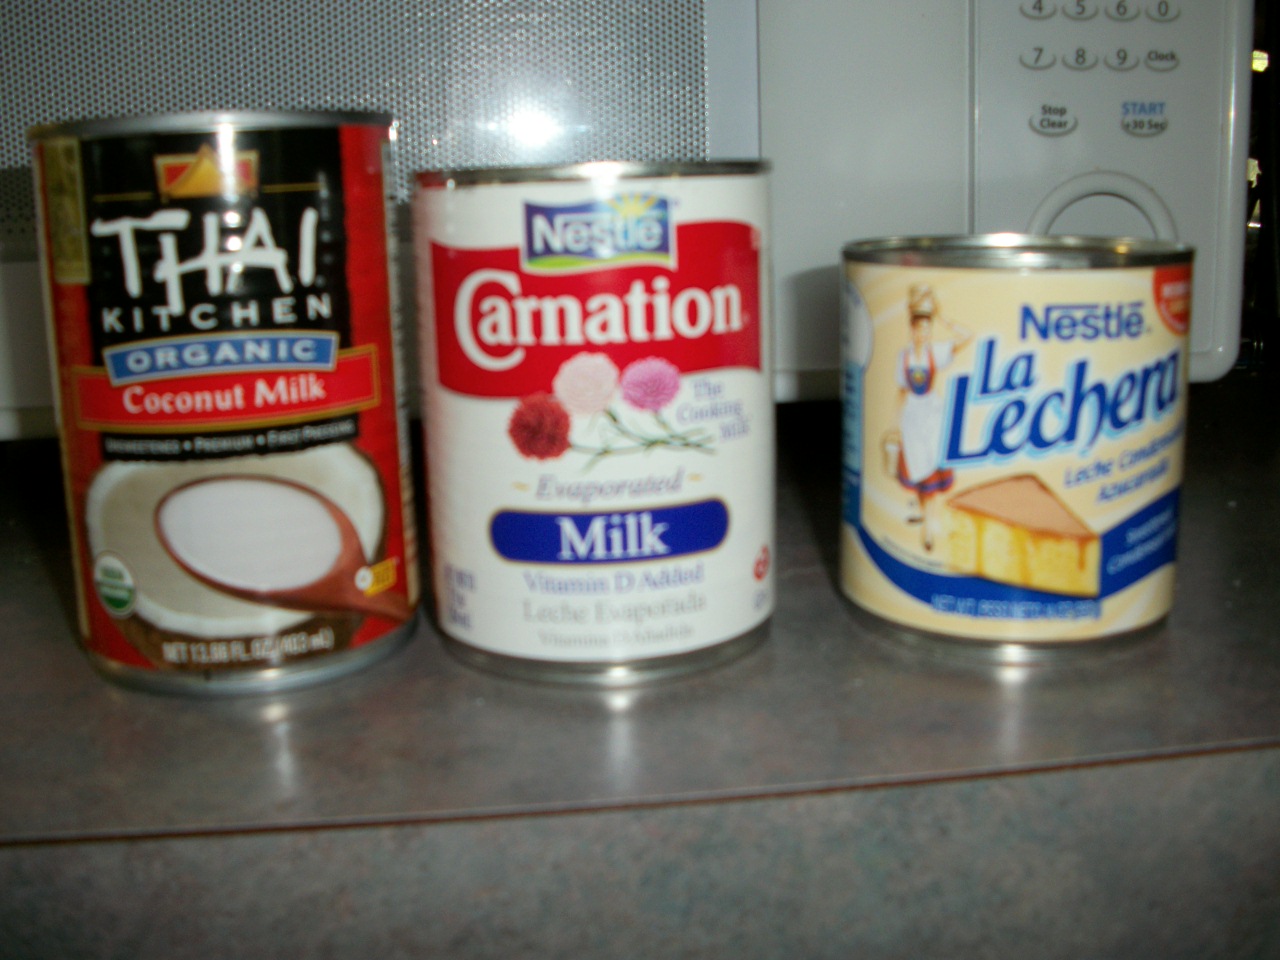
    • Combine cooled condensed milk with 1 cup coconut milk and 1 can evaporated milk (both at room temperature). Or you may use 1 cup whole milk or half and half instead of the coconut milk.

100_1071

    • With a skewer, poke holes evenly into the cake at about ½-inch intervals. Slowly pour the three milks mixture over the cake until it’s completely covered.
100_1073

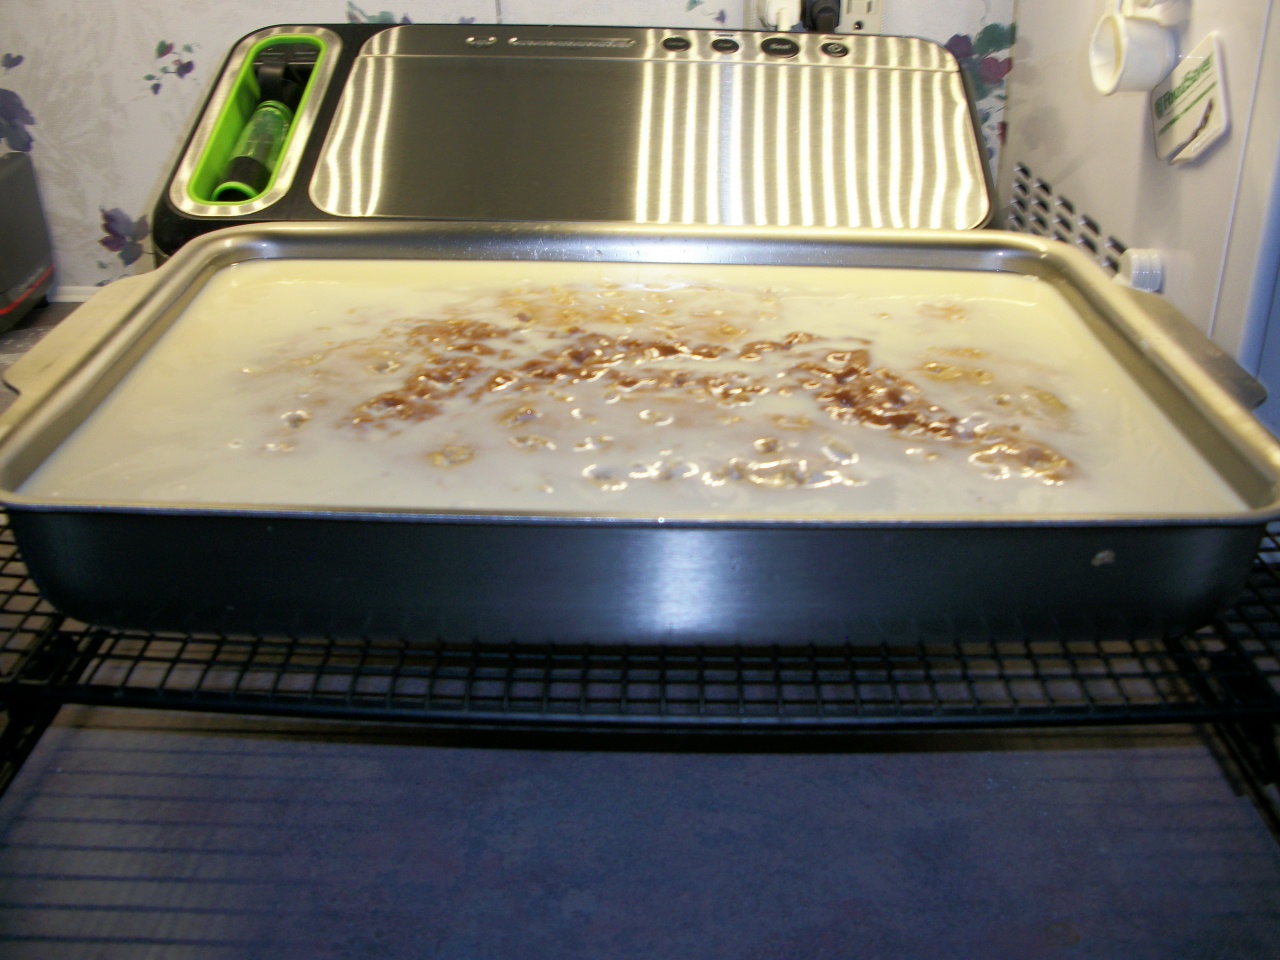
The cake will absorb the milks completely after a few hours.

  • Let cake rest at room temperature for 30 minutes. Refrigerate uncovered overnight or at least 8 hours. This concludes Day One and Steps One and Two.


Day Two: Whipped Cream Topping

    • Remove the chilled cake from the refrigerator at least 30 minutes before serving.
100_1074

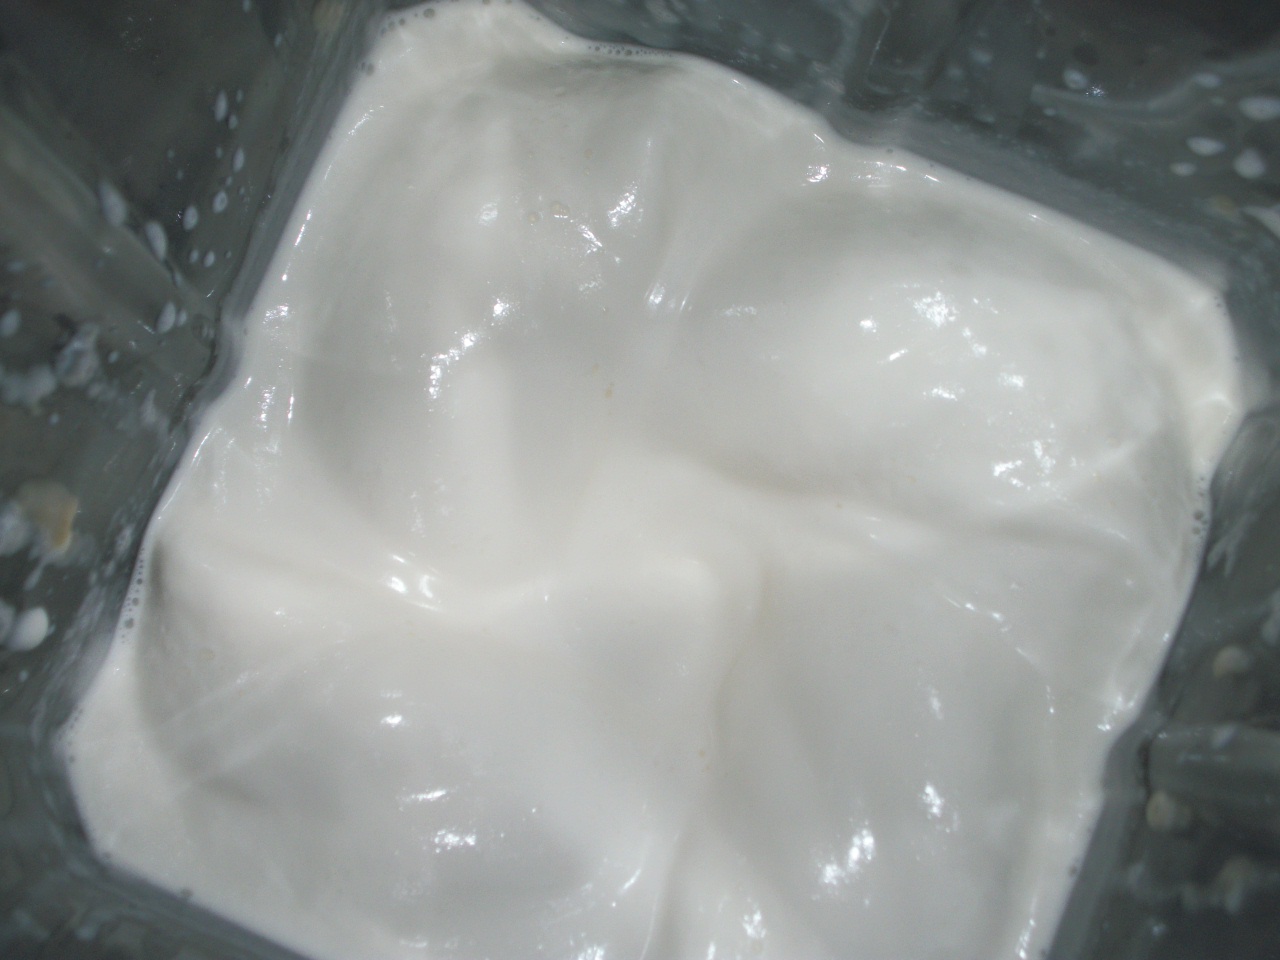
Looking inside the Vitamix container, whipped cream should form four pillows and the sound of the motor should change. Turn off immediately. It’s done!

    • In the dry container of the Vitamix, combine 1 cup heavy whipping cream, 1 tsp. pure vanilla extract, and 1 Tbsp. corn syrup. Whip on Variable Speed 3 just until the cream thickens.
    • Spread the whipped cream over the cake and (Optional) sprinkle with 1 cup sweetened shredded coconut. Cut cake into 12 slices, and serve. Refrigerate leftovers for up to three days.
100_1075

spread one cup whipped cream thinly over cake (If you prefer, whip two cups for a thicker icing)


You can omit Day One/Step One and use a boxed cake mix, and/or substitute prepared whipped topping for Day Two/Step Three to save time, but it isn’t as yummy.

2 Comments

Filed under Cake, desserts, Recipes

HASTY TASTY HAZELNUT CHOCOLATE SPREAD

I love Nutella®, but it has refined sugar, a no-no for me.  So I searched both books and online sources for a homemade version of chocolate hazelnut spread. None suited me, but one came close: Skinny Ms. “Skinny Nutella Spread – The Healthier Version.” I experimented with that recipe but soon went my own way.

This is my version of Hazelnut Chocolate Spread. My recipe uses the Vitamix. If you don’t have a Vitamix, you will need both a blender and a food processor. Read all the directions before you try making it. It looks complicated, but it really isn’t. Complicated recipes don’t qualify as “Hasty Tasty” meals. 😉  

100_1060

Ingredients

RECIPE

Hasty Tasty Hazelnut Chocolate Spread

Makes 2 cups

©2014 Cheryl Norman

Ingredients:

  • ½ pound hazelnuts, roasted and skinned*
  • ½ cup Hershey’s Cocoa Powder (I used Special Dark because I prefer bittersweet chocolate)
  • ¼ cup raw honey (select a light, mild tasting honey)
  • 1 packet pure Stevia extract
  • ¾ cup unsweetened vanilla almond milk (or any milk will work)
  • ¼ tsp. Kosher or other pure salt

Directions:

  1. *Spread hazelnuts in a single layer on a baking sheet (Hint: I roast one pound then freeze half for later) and place in a preheated 375°F oven for 15 minutes.
  2. While hazelnuts roast, combine cocoa, honey, almond milk, salt, and stevia in the container of the Vitamix (or your blender). Blend until thoroughly mixed. Pour cocoa mixture into a microwave safe bowl or pitcher and cover with a wet paper towel.
  3. Microwave the cocoa mixture in one minute increments, stirring after each minute, until mixture is hot (This takes about two minutes in a 1000 watt oven).100_1059
  4. *Remove roasted hazelnuts from the oven and allow to cool. Place them on a clean kitchen towel, fold it over onto the hazelnuts, and rub to remove the skins. They should slip off easily.
  5. Take one cup (1/2 pound) of the cooled hazelnuts and place in the container of your Vitamix (or food processor). Turn it on Variable Speed 1, gradually increasing to 10 then High Speed. Process for thirty seconds to one minute or until the nuts become butter (You may need to stop once and use a spatula to scrape the nut mixture from the sides). Note: This step takes about 5 minutes in a food processor.
  6. Carefully pour the heated cocoa mixture into the Vitamix container with the hazelnut butter. Process on Variable Speed 5 for about five seconds or until well blended.
  7. Pour into glass jars

.100_1061

To be on the safe side, store your spread in the refrigerator. My recipe contains no additives to make it shelf-stable. Once you make this, you can add your own touches. If it’s not sweet enough, try adding additional stevia extract or sweeteners of your choice.

One final word: Don’t make  hazelnut chocolate spread to save money. Homemade is better, but quality ingredients carry a higher price tag. I ordered organic hazelnuts and shopped for local honey. I doubt I saved a penny over Nutella® from the supermarket, but I love having total control over my ingredients. Enjoy!

8 Comments

Filed under condiments, Healthful Eating, snacks

Drink to Your Health

100_1057
It’s no secret I’m a fan of the Vitamix and believe it’s worth every penny of its price tag. I’ve been using one for twenty years now, and I’ve made many combinations of drinks with it (whole juice, not extracted juice, is much better for you). One recipe is my go-to morning drink, and this is it.

RECIPE


Pineapple Orange Juice

Ingredients 1 cup fresh pineapple (include core)
1 organic orange, peeled and quartered
1 dried prune (For sweetness. You won’t taste it, I promise!)
½ cup water
1 cup ice cubes
100_1053


Place all ingredients in the Vitamix container (ice goes in last). Process on Variable Speed 1, stepping up to 10. Then High Speed until blended, approximately one minute. Makes 2 8-oz glasses or 4 4-oz glasses.

100_1054

100_1055

It’s a great way to start your day with vitamins and fiber. Good morning!

2 Comments

Filed under fruit, Healthful Eating, Recipes

Agave Nectar? No, thank you.

Agave Nectar.

I tried it. I didn’t like the taste. But cooking show hosts on TV raved about it. If you’re striving for a healthy, natural diet, don’t buy into the hype. Use raw honey, pure maple syrup, molasses, or pure stevia extract as a natural sweetener.

Unconvinced? Then please read this: http://www.drmercola.com/health-tips/7-reasons-why-you-should-avoid-agave-syrup/

2 Comments

Filed under cooking, Healthful Eating